


How to Make Fabric Cover Buttons (Written Tutorial)
The cover buttons are easy to assemble. Either follow the directions below or Google "Instructions for fabric buttons" or "Tutorials for cover buttons" there are many great and informative options out there.
1. Cut your fabric scrap. You'll want a circle that's about twice the diameter of your button blank.
2. Put your fabric piece in the larger assembly tool piece. Put the fabric RIGHT SIDE DOWN. When you look into the tool you want to see the back of the fabric.
3. Place the button front (the domed piece) on top of the fabric. Leave the edges hanging out.
4. Squish your edges down into the tool.
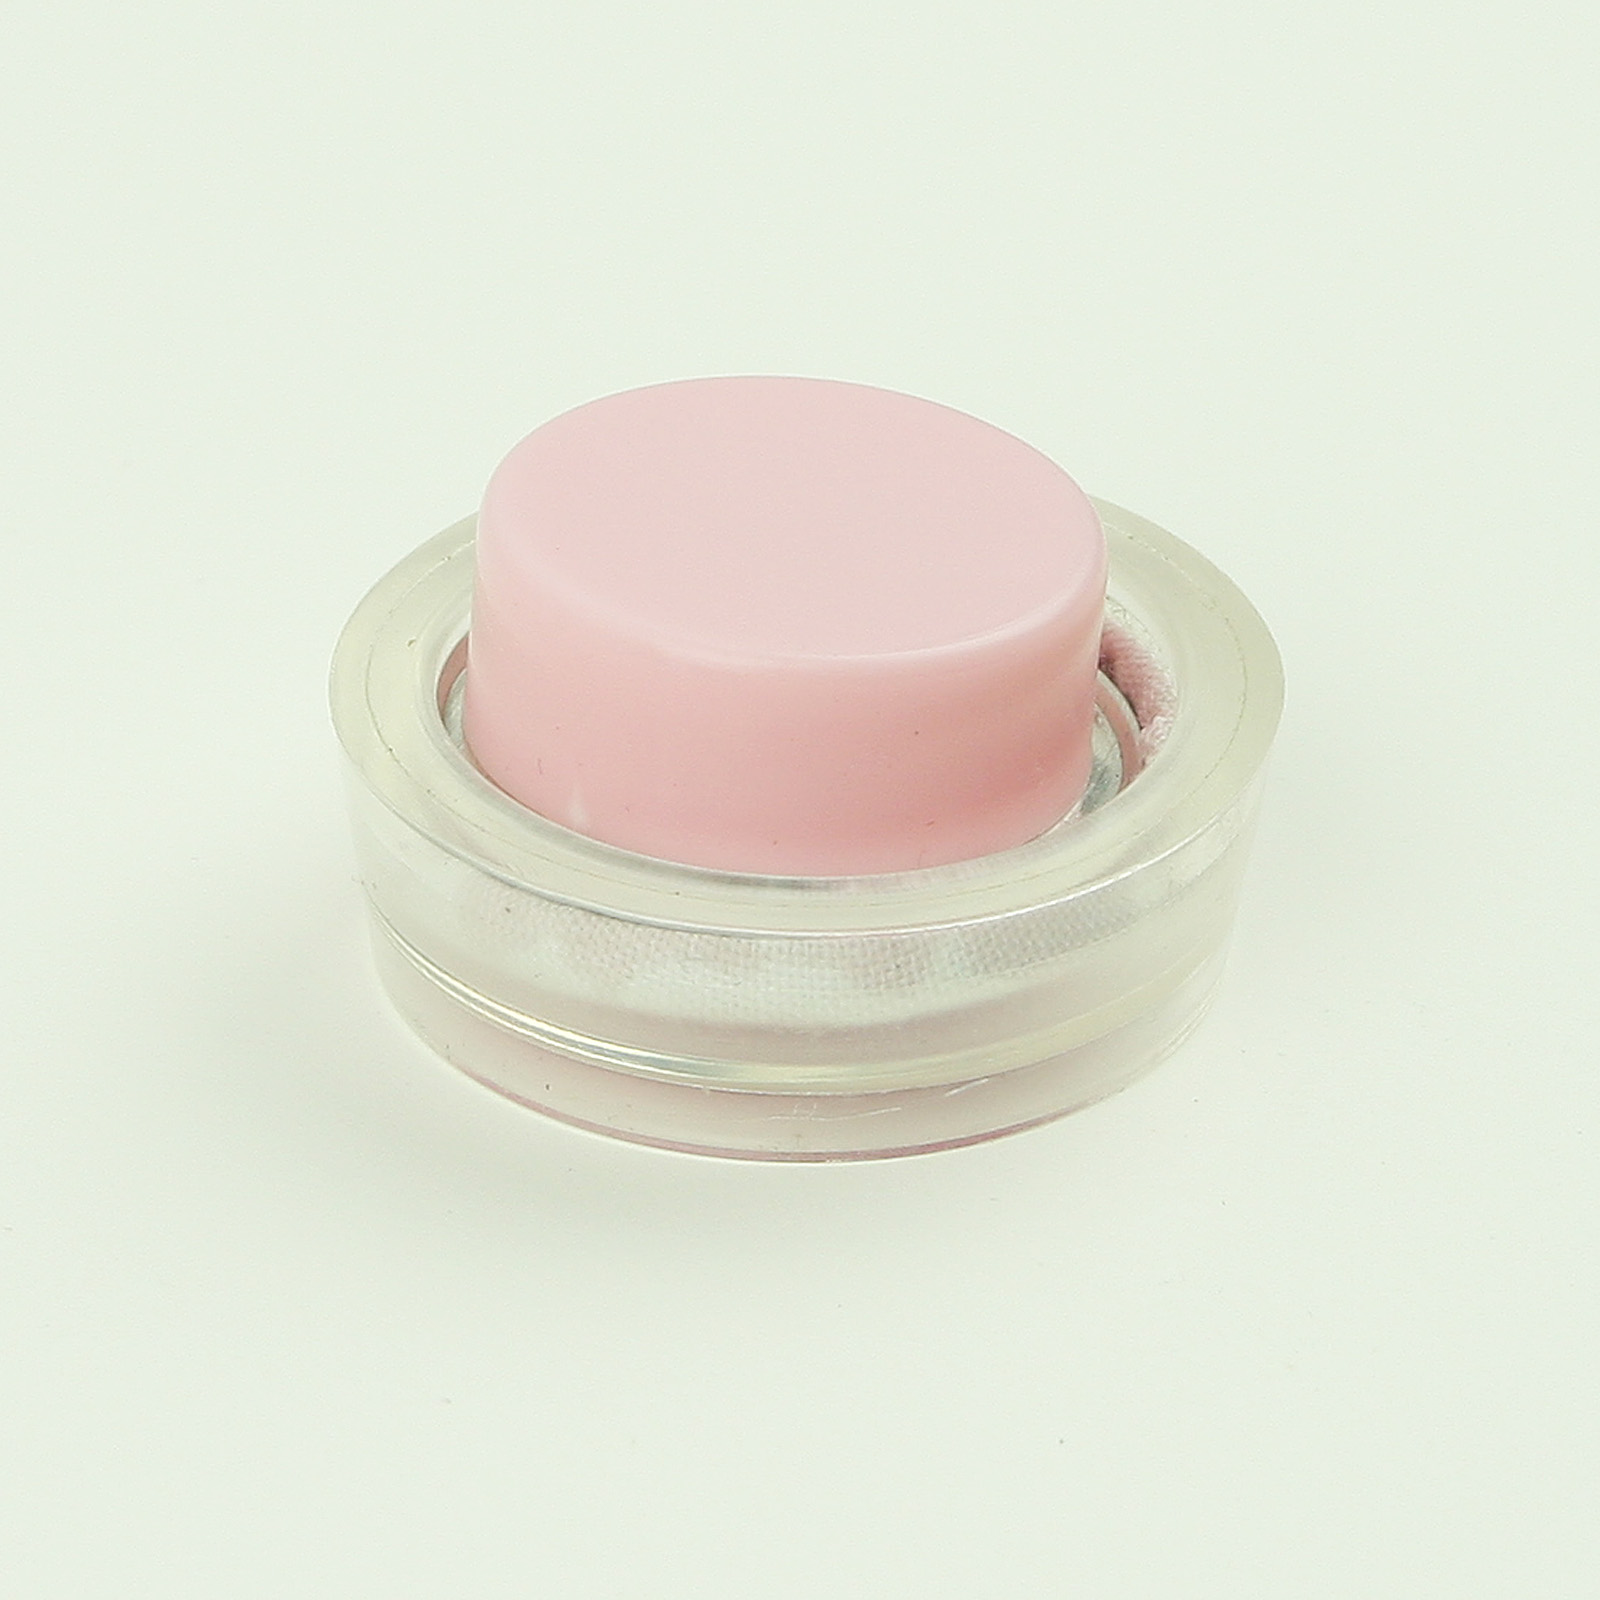
5. Place the button back on top of your fabric and button front
6. Take the smaller piece of the assembly tool and with the open side down place it on the button back.
7. Press down. You may hear a pop when the last bit of the button back slips into place. If you take the tool out and the button is not all the way secured, just put it back in and press down again.
8. When you take the small assembly tool piece off the fabric edges are now secured underneath the button back.
9. Remove the button from the larger assembly tool piece.
10. Tada!
Inspired!!!
No comments:
Post a Comment