Friday, March 22, 2013

Embellish My Daughter, Embellish My World! Day #2

Fabric Cover Button Ponytail Holder! In just a few minutes, using these simple instructions found on our website:

http://www.gotluxsnaps.com/home/gotlux-snaps-craft-tutorials-1/cover-button-tutorials/how-to-make-a-cover-button-ponytail-holder

I constructed Cover Buttons (Size 45 Wire Back, from our line of Cover Buttons) with some scraps of pretty fabric, Daughter's choice, and 2 elastic bands.

Within minutes, we had super cute "embellishments" for her hair. It took me longer to brush and braid her hair :). When I asked her what her friends thought, she said they couldn't stop petting them. I would say that is a great compliment.

The Cover Buttons needed to make these cute ponytail holders are available in our store:

https://www.etsy.com/shop/GotLuxSnaps


How to Make a Cover Button Ponytail Holder (Picture Tutorial):

Follow Instructions (Here) to Make WIRE Back Fabric Cover Buttons then:


How to Make a Cover Button Ponytail Holder (Written Tutorial):

Follow Instructions (Here) to Make WIRE Back Fabric Cover Buttons then:

Super Cute and Easy Cover Button Ponytail Holders that are super easy!


Supplies:

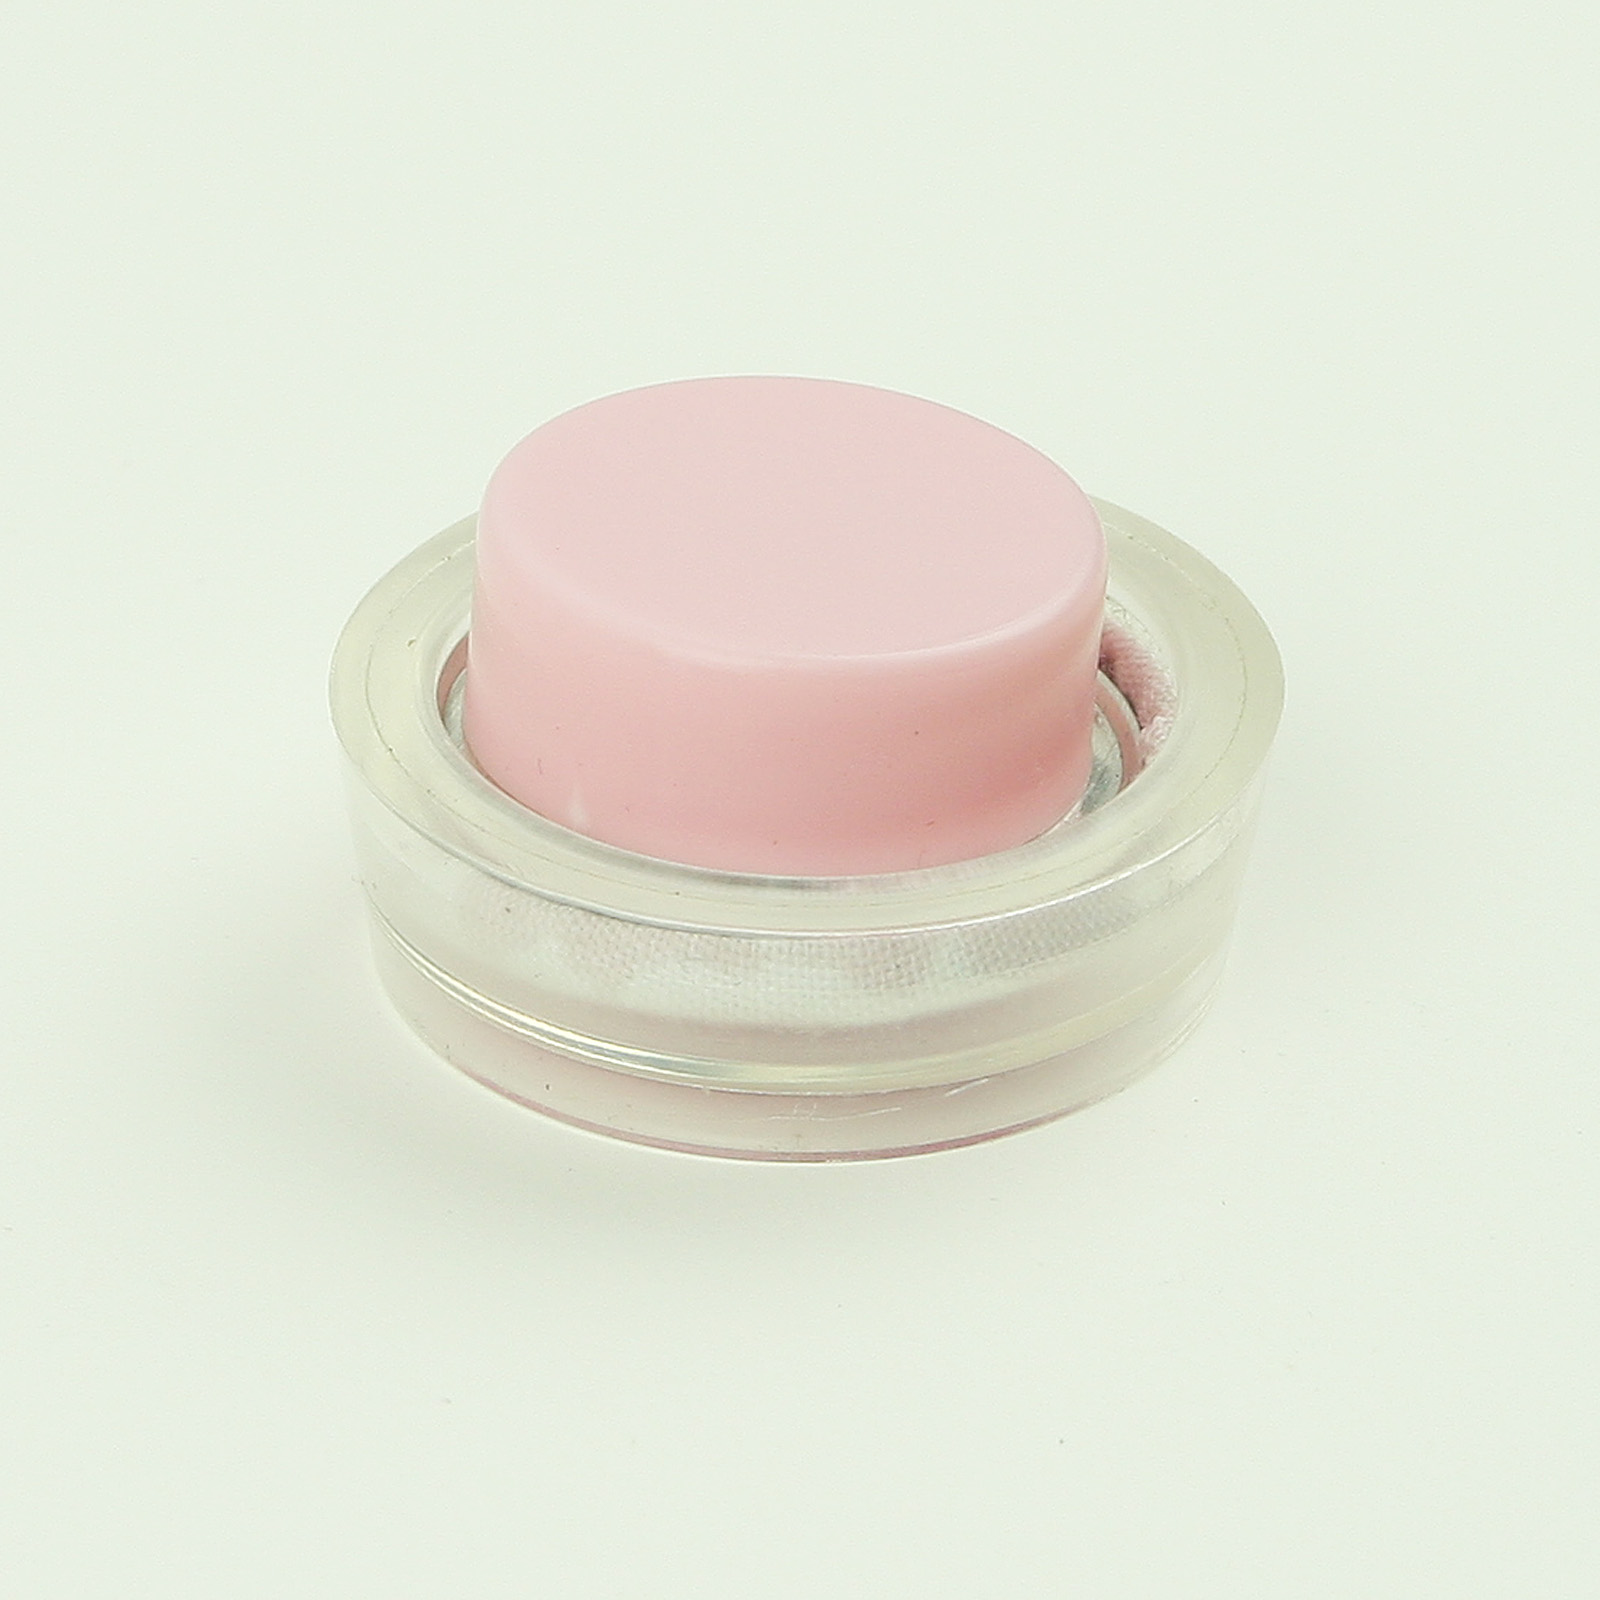
    2x Completed WIRE Back Fabric Cover Buttons (Generally, Size 36 for Toddlers/Size 45 for All Ages)

    2x Elastic/Plain Ponytail Bands

1.  Pinch the Elastic Band to a point and tread it through the small loop (Shank) in the back of the Cover Button.

2.  To make it a knot, pull the backside of the elastic band over and through the front elastic loop that is tucked through the Shank.

3.  Then tug it up until it is tightens.

4.  Do the same with the other Cover Button.  There are a number of ways to do this.  In the pictures above, I used 2 elastic bands.  You can do it with just one band depending on the thickness of your hair. 

5.  If you are using 2 elastic bands, you will need to knot them together as pictured above.  It is the similar to knotting it to the Shank, place one end of the elastic band through the loop of the other elastic band. 

6.  Then wrap the same band around the opposite Cover button and pull the 2 Cover Buttons away from each other.  This will tighten the knot.

7.  Tada!

You are done! Tie in in your hair the same way you would with a normal elastic or use invisible rubber bands and use this to accent your hairdo.  Enjoy!

Thursday, March 21, 2013

Embellish My Daughter, Embellish My World!

My motto this week is:

Embellish My Daughter, Embellish My World!

This week I made a dedicated effort to "embellish" my daughter each day as she headed out the door to school.

Day #1

Fabric Cover Button Snap Barrettes! In just a few minutes, using these simple instructions found on our website or check out our blog for this tutorial:


http://www.gotluxsnaps.com/home/gotlux-snaps-craft-tutorials-1/cover-button-tutorials

I constructed Cover Buttons (Size 36 Flat Back, from our line of Cover Buttons) with some scraps of pretty fabric, Daughter's choice, of course. Then she picked coordinating Snap Barrettes (Light Pink, sold by us) and using a little bit of E6000 (also available through our store), we glued our pretty Cover Buttons and left them to set overnight.

By the morning, we had some very cute "embellishments" for her hair that she very proudly wore to school. They were a hit with her friends and made her day.

All the supplies needed to make these cute barrettes are available in our store:

https://www.etsy.com/shop/GotLuxSnaps


How to Make Fabric Cover Buttons: Picture Tutorial

Written Directions Below


How to Make Fabric Cover Buttons (Written Tutorial)

The cover buttons are easy to assemble. Either follow the directions below or Google "Instructions for fabric buttons" or "Tutorials for cover buttons" there are many great and informative options out there.

1. Cut your fabric scrap.  You'll want a circle that's about twice the diameter of your button blank.

2. Put your fabric piece in the larger assembly tool piece. Put the fabric RIGHT SIDE DOWN. When you look into the tool you want to see the back of the fabric.

3. Place the button front (the domed piece) on top of the fabric.  Leave the edges hanging out.

4. Squish your edges down into the tool.

5. Place the button back on top of your fabric and button front

6. Take the smaller piece of the assembly tool and with the open side down place it on the button back.

7. Press down. You may hear a pop when the last bit of the button back slips into place.  If you take the tool out and the button is not all the way secured, just put it back in and press down again.

8. When you take the small assembly tool piece off the fabric edges are now secured underneath the button back.

9. Remove the button from the larger assembly tool piece.

10. Tada!

Inspired!!!


Sunday, March 3, 2013

NEW Heart-Shaped KAM Snap Color Chart

NEW Heart-Shaped KAM Snap Colors

We recently added a number of new colors, below is our new Heart-Shaped KAM Snap chart for easy reference.

We added 3 bumGenius/Custom Colors to our collection:

G62 Zinnia
G64 Ribbit
G72 Chocolate

As well as a rainbow of standard KAM colors to choose from.  We hope you love our new colors as much as we do! We are delighted with them and are excited for you to enjoy them too.

See our list in color order at:

http://www.gotlux.com/GotLux_Snap_Colors.php?Mode=Hearts

See our color chart below to see them in color order:

Thank you,
GotLux Snaps


Saturday, March 2, 2013

Hello Teal Shooting Star!

Yea Hoo! 25,000 Feedback and counting on eBay!!! Hello Teal Shooting Star! Thank you wonderful eBay customers for all your support!

In the last 8+ years, we have had over 100,000+ sales on eBay and 25,000 positive reviews/feedback about our products and our customer service.

You guys are amazing! Thank you again for all your support!

Have a great weekend!

GotLux Snaps

GotLux Snaps eBay Store