Wednesday, June 25, 2014

Our Blog Is Moving To Our Website

Our website contains a great blog and tutorial section that we update and add to regularly.  Please visit us at our website to see our most up-to-date posts, craft ideas, and how-tos.

Websites:

Store Fronts:

Social Media:

Like us on Facebook and Follow us on Twitter to get our up-to-date news on our latest products and weekly deals.


© ILikeBigButtons.com and I Like Big Buttons Blog, 2014.  The contents of this blog, including text, original photos and ideas are the sole property of the I Like Big Buttons.comPlease feel free to tag or share but please do not crop or alter image.  If you intend to use my text or images, please link back to this blog and give credit to this blog. Please do not republish an entire post or post photos of my family.

Thank you for looking and head over to our website and check it out!!!  Have a great day!

Friday, June 6, 2014

30 Days of Snaps!!! Day #11

Day #11

Unpaper Towels with KAM Snaps made with a Sewing Machine

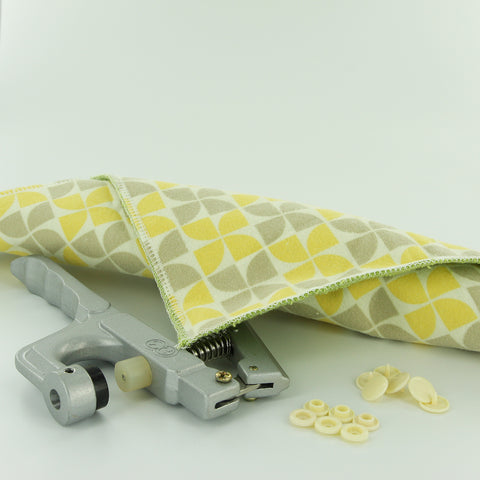
Supplies:


Instructions:

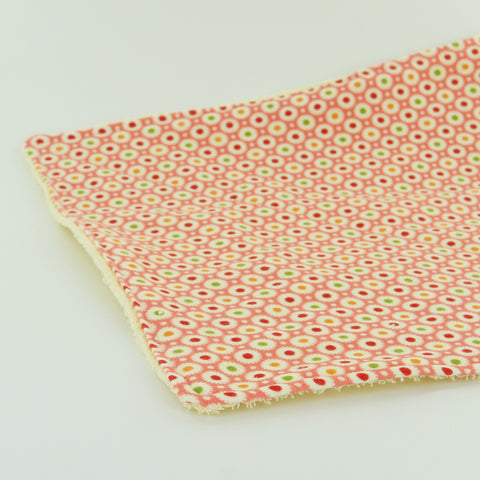
1. Choose your flannel, I went to Etsy, of course, and found almost too many choices :). I finally settled on Moda's Marmalade collection.

2.  Choose your Terry Cloth, I went with a mix of White, Butter, and Celery colored Terry Cloth that matched my flannel. Some people use towels and cut them into pieces, I also have used Micro Fiber clothes from Walmart they are about 12"x12", you may have to adjust your starting size a little but they will work great too. I also find them on clearance pretty often which makes them very reasonable.


3.  Cut 12 12"x12" Flannel squares and 12 12"x12" Terry Cloth squares. Make sure to make cut them as square as possible.


4.  Pick a square of Flannel and a square of Terry Cloth, place the right sides together, and start 2/3 of the way down the first side of the fabric.  I will be wrapping around and stopping at about 1/3 leaving a open hole to turn the fabric right side out.  Using a 3/8" or 1/2" seam sew the pieces together, pick the seam allowance that makes you comfortable.  Remember to be consistent so that all the towels are the same size.

5.  Repeat 12 times.  You will want to trim the corners and of some of the excess seam if it seems to bulky.


6.  Now turn all the towels right side out, use a pointy object, finger, or my preference, the back side of a kitchen spoon to make sure you get the 4 corners of each cloth as square as possible.

7.  Tuck the unsewn flaps into the inside, lining it up to follow the line of the towel from the left and right.  Iron each towel to lay down the edges neatly.


8.  Now top stitch the towels with a 1/4" seam all the way around closing up the opening as you go.


9.  I straight stitched a diagonal line from the top left corner to the bottom right corner and turned and repeated, creating a X. This insures they will not bunch up when you wash them or are using them.


10.  I, then, made a template with clear plastic. It was 1"x 11"-ish strip of plastic (to match the end result of my unpaper towels) and I punched 3 holes: the 1st at 1/2" down and 1/2" in, the 2nd at the other end same 1/2" up and 1/2" in, and the 3rd exactly in the middle of the 2 holes 1/2" in. You can do 2 holes but the 3rd hole keeps the Unpaper Towels from sagging in the middle.

11.  Then I marked with a super fine tipped permanent marker where to place the snaps holes.

12.  Using the Awl, I punched holes for all the snaps 3 on each side, 6 per towel.


13.  Now install the KAM Snaps, in each hole, I recommend doing all the ones on the left first and then all the ones on the right. I found that I get mixed up otherwise and have to undo my hard work. So I did KAM Snap Caps down (Terry Cloth) on the left with the studs face up (Flannel side). Then I did the right side, I did KAM Snap Caps up (Flannel) with sockets down on (Terry Cloth).


14.  Now snap all your towels together, roll them up, and place them on your paper towel holder.


15.  Tada! Happy Snapping!!!

Thursday, June 5, 2014

30 Days of Snaps!!!! Day #10

Day #10

Unpaper Towels with KAM Snaps made with a Serger

Supplies:


Instructions:

1.  Choose your flannel, I went to Etsy, of course, and found almost too many choices :).  I finally settled on Moda’s Marmalade collection.

2.  Choose your Terry Cloth, I went with a mix of White, Butter, and Celery colored Terry Cloth that matched my flannel.  Some peopel use towels and cut them into pieces, I also have used Micro Fiber clothes from Walmart they are bigger than 11″x11″ and work great.  I also find them on clearance pretty often too which makes them reasonable.


3.  Cut 12 11″x11″ Flannel squares and 12 11″x11″ Terry Cloth squares.  Make sure to make cut them as square as possible.


4.  Pick a square of Flannel and a square of Terry Cloth, place the wrong sides together and serge the pieces together.  There are some great Youtube videos on how to turn corners when sergering and how to end stitch.

5.  Repeat 12 times.

6.  I straight stitched a diagonal line from one corner to the adjacent corner and repeat on the opposite side.  This insures they will not bunch up when you wash them or are using them.


7.  I then made a template with clear plastic.  It was 1″x 11″ and I punched 3 holes: 1 at 1/2″ down and 1/2″ in, 2 at the other end same 1/2″ up and 1/2″ in, and the 3rd exactly in the middle of the 2 holes 1/2″ in.  You can do 2 holes but the 3rd hole keeps the Unpaper Towels from sagging in the middle.

8.  Then I marked with a super fine tipped permanent marker where to place the snaps holes.


9.  Using the Awl, I punched holes for all the snaps 3 on each side, 6 per towel.

10.  Now install the KAM Snaps, in each hole, I recommend doing all the ones on the left first and then all the ones on the right.  I found that I get mixed up otherwise and have to undo my hard work.  So I did KAM Snap Caps down (Terry Cloth) on the left with the studs face up (Flannel side).  Then I did the right side, I did KAM Snap Caps up (Flannel) with sockets down on (Terry Cloth).


11.  Now snap all your towels together, roll them up, and place them on your paper towel holder.


12.  Tada!  Happy Snapping!!!